When planning a pool area, the sequence of construction work can affect the appearance, performance and long-term durability of the finished space. One important question is whether glass pool fencing should be installed before or after the surrounding paving.
There is no single sequence that suits every project. The fence layout should be planned before paving begins, but the glass panels and hardware may be installed either before or after the finished surface is completed. The right approach depends on the fixing method, the structural substrate beneath the paving, drainage requirements and the intended finish.
At Clearview Glass Group, we install glass pool fencing across the Central Coast and coordinate with homeowners, pool builders and paving contractors to confirm these details early. Careful planning helps reduce the risk of unnecessary cutting, surface damage, drainage issues and avoidable rectification work.
Glass pool fencing can be installed either before or after paving, depending on the design of the pool area and the fixing method being used.
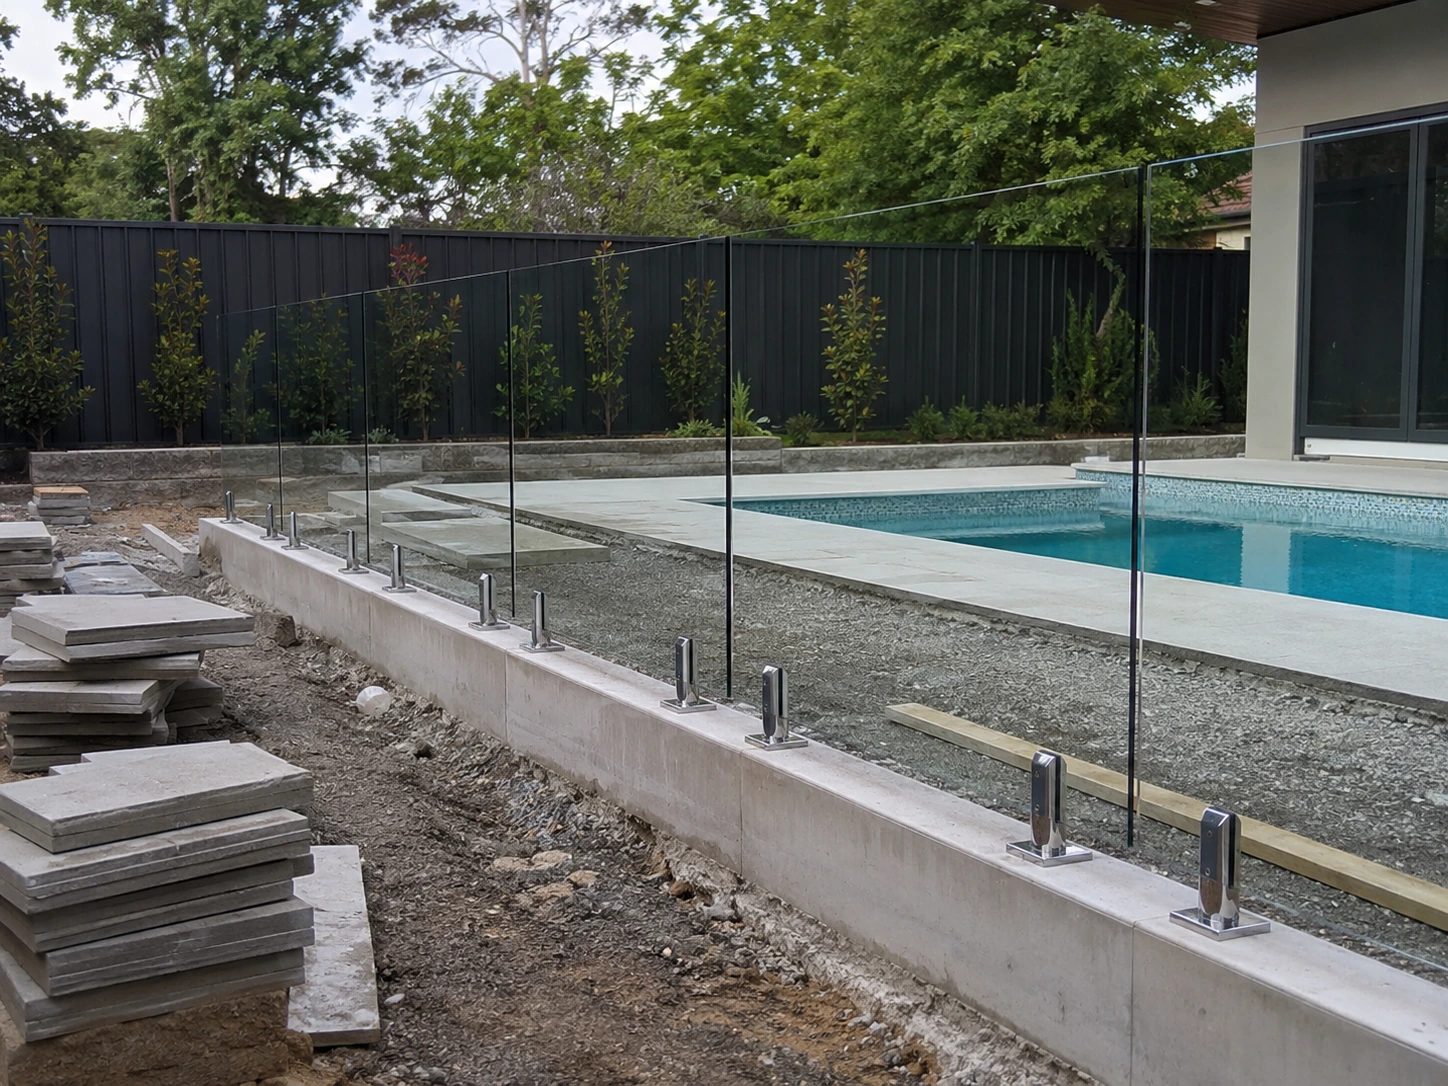
In some projects, the spigots, posts or channels are fixed into the structural concrete base before the decorative paving is completed. The pavers or tiles can then be laid neatly around the hardware.
In other projects, the paving is completed first and the fence components are installed by drilling through the finished surface into the structural slab beneath. This is common in renovation projects and can also be suitable for new builds where the slab and paving have been designed to accommodate the fence fixings.
The most important step is to coordinate the fence line, gate positions, structural base, finished levels and drainage layout before work begins.
Installing Before Paving Is CompletedInstalling After Paving Is CompletedAllows the fixings to be coordinated directly with the structural concrete baseSuitable for existing paved pool areas and many renovation projectsReduces the risk of damaging completed pavers or tiles during drillingAllows the fence to be integrated into an established outdoor areaMakes it easier to plan paving cuts around spigots, posts or channelsCan be suitable for new builds where paving sits over an appropriate structural slabHelps coordinate drainage, expansion joints and paving layoutsMay require careful drilling through completed pavers or tilesCan create a clean integrated finishRequires confirmation that the underlying substrate is suitable for the selected fixings
Both methods can produce a secure and visually appealing result when the construction sequence, fixing system and structural base are planned carefully.
Glass pool fencing is a safety barrier rather than simply a decorative feature. It must be fixed securely and installed in a way that satisfies the applicable pool safety requirements.
The installation sequence can affect:
Problems can arise when the fencing and paving are treated as separate stages without early coordination. For example, paving may be installed without allowing for the selected fixings, finished ground levels may alter the effective height of the barrier or drainage falls may direct water towards the fence hardware.
Confirming the fence design before paving begins helps reduce the risk of rectification work later.
In some projects, the fencing hardware is installed after the structural concrete substrate has cured but before the final pavers or tiles are laid around the fixing points.
This approach may be appropriate where the fence design requires spigots, posts or channels to be integrated directly into the concrete base.
Potential benefits include:
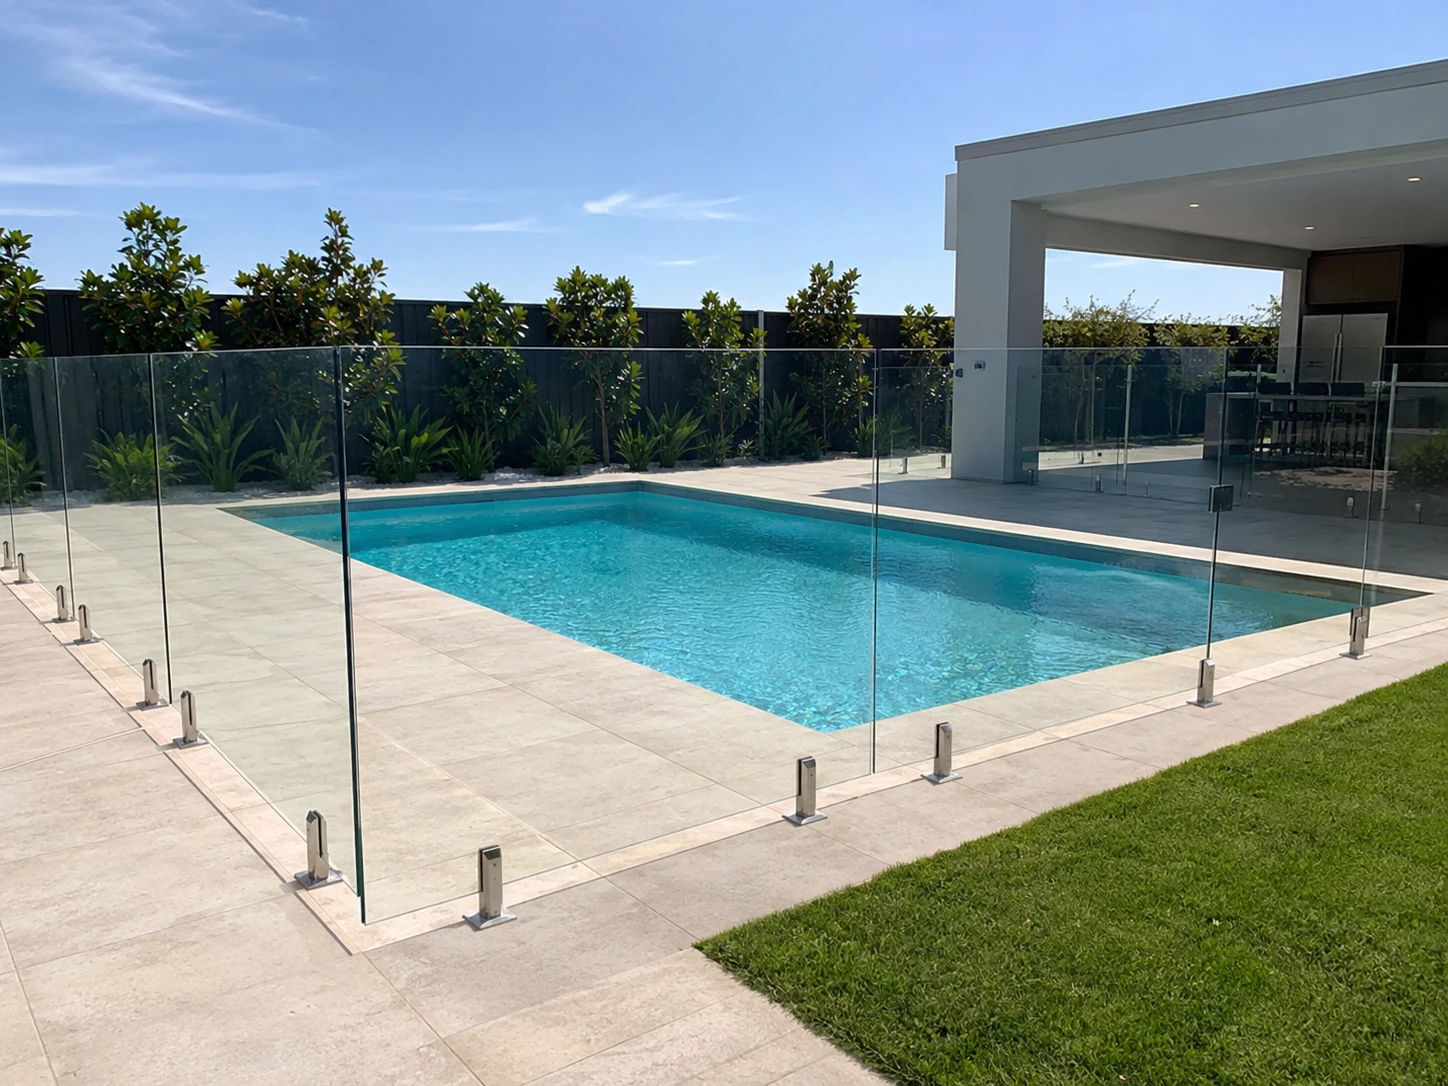
The pavers or tiles can then be laid around the installed components to create the appearance that the glass rises cleanly from the finished surface.
This method is not automatically the best option for every project. Finished levels, paving thickness and drainage falls still need to be calculated before the fence components are positioned.
Glass pool fencing can also be installed after paving has been completed. This is common when an existing pool area is being upgraded or when the selected fixing system has been designed for installation through the finished surface.
In these situations, installers generally drill through the paving or tiles into the structural concrete beneath. The pavers alone should not be relied upon to support the fence.
This approach may be suitable when:
Careful drilling is important to minimise the risk of cracked tiles, chipped pavers or unnecessary interruptions to the paving pattern. The underlying slab must also provide sufficient support for the selected fixing system.
The best installation sequence depends partly on the way the fence hardware will be secured.
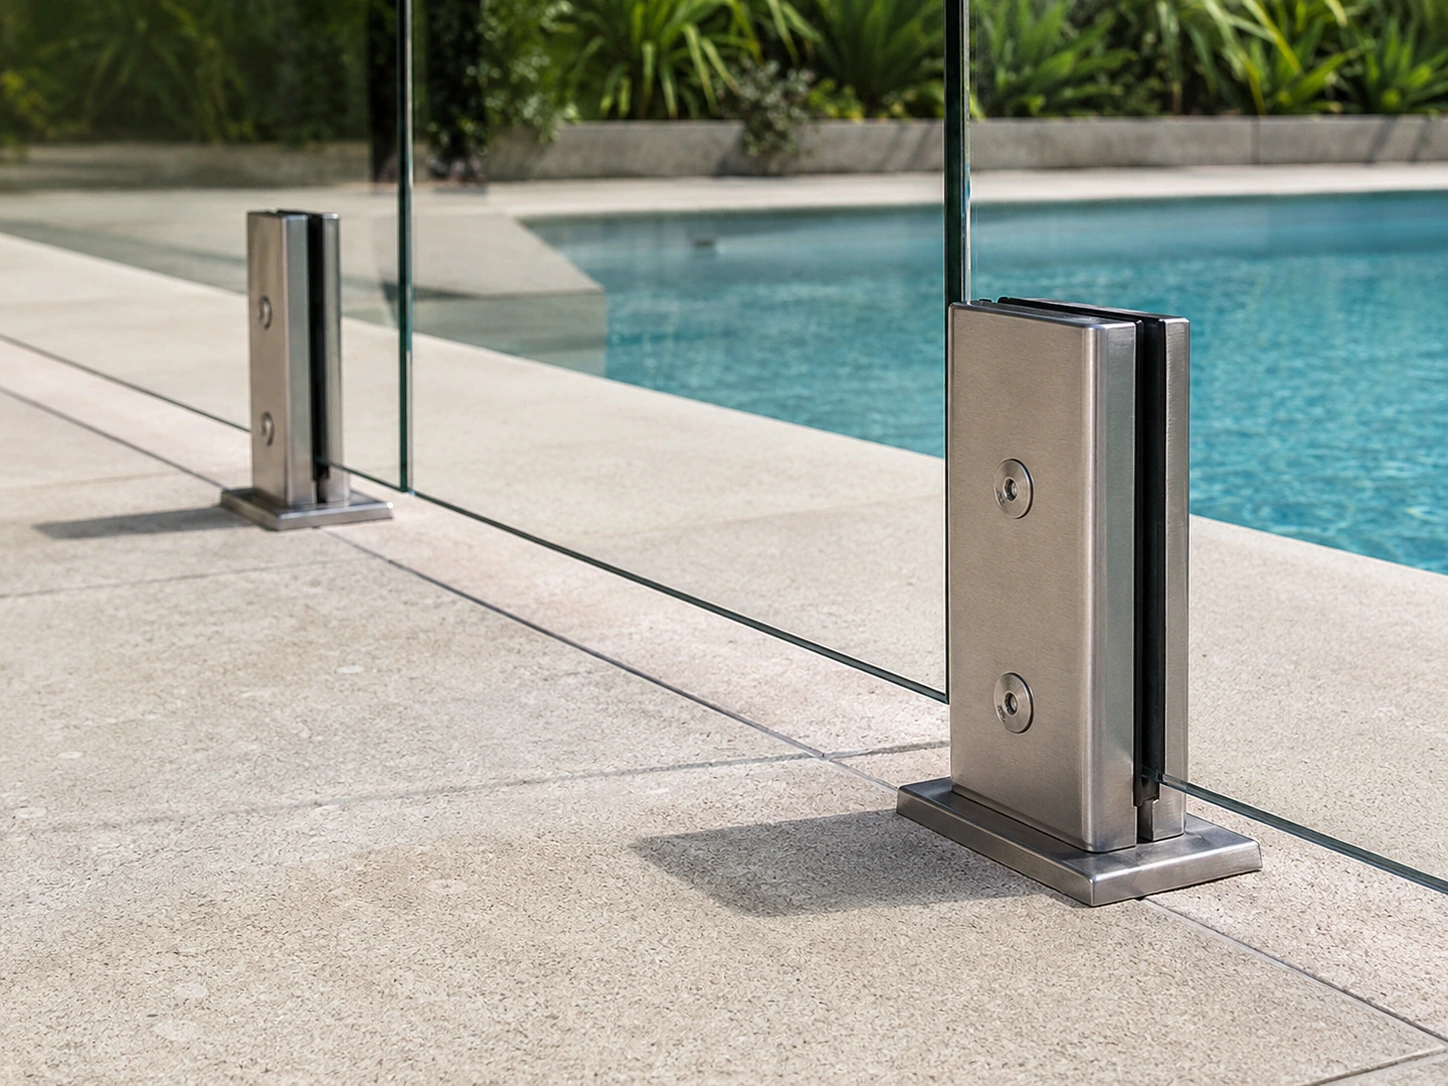
Core-drilled spigots are installed into holes created in a suitable concrete substrate. They may be installed before or after paving, depending on the construction sequence and intended finish.
Installing the spigots before paving is completed can reduce the risk of damaging finished surfaces. However, drilling through completed pavers or tiles may also be suitable where the underlying slab has been designed to support the fence and the work is completed carefully.
Surface-mounted systems are mechanically fixed through the finished surface into the structural substrate beneath.
These systems are often installed after paving has been completed. The position of the fixings should still be planned early so that they do not conflict with expansion joints, drainage channels or unsuitable sections of the slab.
Some frameless glass pool fences use a recessed or surface-mounted channel to support the glass panels.
These systems require careful planning because the channel position can affect the slab design, drainage layout, waterproofing and paving cuts. The channel system should be selected before the surrounding finishes are installed.
Finished paving levels are an important part of the fence design. Pool barrier height and gaps beneath the fence are assessed in relation to the completed ground level rather than the unfinished slab.
If the fence is positioned before the final levels are properly calculated:
The design should account for the slab level, bedding thickness, paving thickness and planned drainage falls before the fence components are installed.
Water should not be allowed to pool around spigots, posts or channels. Poor drainage can contribute to staining, grout deterioration, paving movement and unnecessary wear around the fence hardware.
Glass pool fencing can often be installed on an existing paved or tiled surface, provided there is a suitable structural substrate beneath it.
This is common when an established pool area is being renovated or an older fence is being replaced.
Potentially suitable surfaces include:
Some areas may require further assessment or modification before installation, including:
A site assessment can determine whether the existing surface and underlying substrate are suitable for the selected fixing method.
The fence design may require additional planning where the property has sloping ground, tight corners, unusual paving levels or other uneven or difficult pool areas.
Early coordination between the glazier, pool builder, landscaper and paving contractor helps avoid delays and unnecessary rework.
Confirm whether the fence will be supported by a structural slab, concrete footing, reinforced beam or another engineered base. The substrate needs to suit the selected hardware and the proposed fence line.
Document the final surface levels, paving thickness and drainage falls before the fence is positioned. This helps prevent issues with fence height and gaps beneath the panels.
Mark the proposed fence line, panel positions and gate locations early. A carefully planned glass pool fencing design should account for safe access, latch placement, sightlines and the surrounding landscape.
Confirm whether the project will use core-drilled spigots, surface-mounted hardware, posts or a channel system. The fixing method can affect slab preparation, paving cuts, expansion joints and the order of construction work.
The completed fence layout should be assessed against the applicable NSW pool safety requirements. This includes the height of the barrier, gate operation, latch positioning, gaps beneath the fence, non-climbable zones and interactions with boundary fencing or nearby objects. Homeowners can also refer to the Central Coast Council pool fencing requirements for general guidance on barrier heights, gates, gaps and non-climbable zones.
Clarify who is responsible for:
Clear responsibilities make it easier to coordinate each stage and reduce the likelihood of delays.
Glass pool fencing can be installed before or after paving, provided the fixing system is suitable for the structural substrate and the completed barrier satisfies the applicable pool safety requirements.
The best results come from planning the fence layout before paving begins. Early coordination allows the glazier, pool builder and paving contractor to confirm the fixing method, finished levels, drainage falls, gate positions and responsibilities for each stage of the work.
At Clearview Glass Group, we work with the relevant trades to ensure glass pool fencing is integrated carefully into the surrounding pool area, whether the project involves a new build or an existing paved surface.
Ready to elevate your space with stunning glass solutions? Contact Clearview Glass today for expert advice, quality craftsmanship, and unmatched customer service. Let's bring your vision to life – get in touch now for a consultation.
