For most bathroom renovations and new builds, a shower screen should be measured and installed after waterproofing, tiling and grouting are complete. Homeowners considering frameless shower screens in Central Coast properties can include the screen in the initial bathroom design, but its final dimensions should generally be based on the completed tiled surfaces.
Clearview Glass Group recommends involving a shower screen specialist early enough to review the proposed layout, door clearance, fixing points and structural requirements. Early planning allows wall reinforcement, plumbing positions and any concealed channels to be addressed before the walls are closed.
Once the tiles and grout have cured, the installer can take accurate measurements and manufacture the glass to suit the finished opening. Following the correct sequence reduces the risk of inaccurate dimensions, damaged tiles, poorly positioned hardware and water escaping from the shower area.
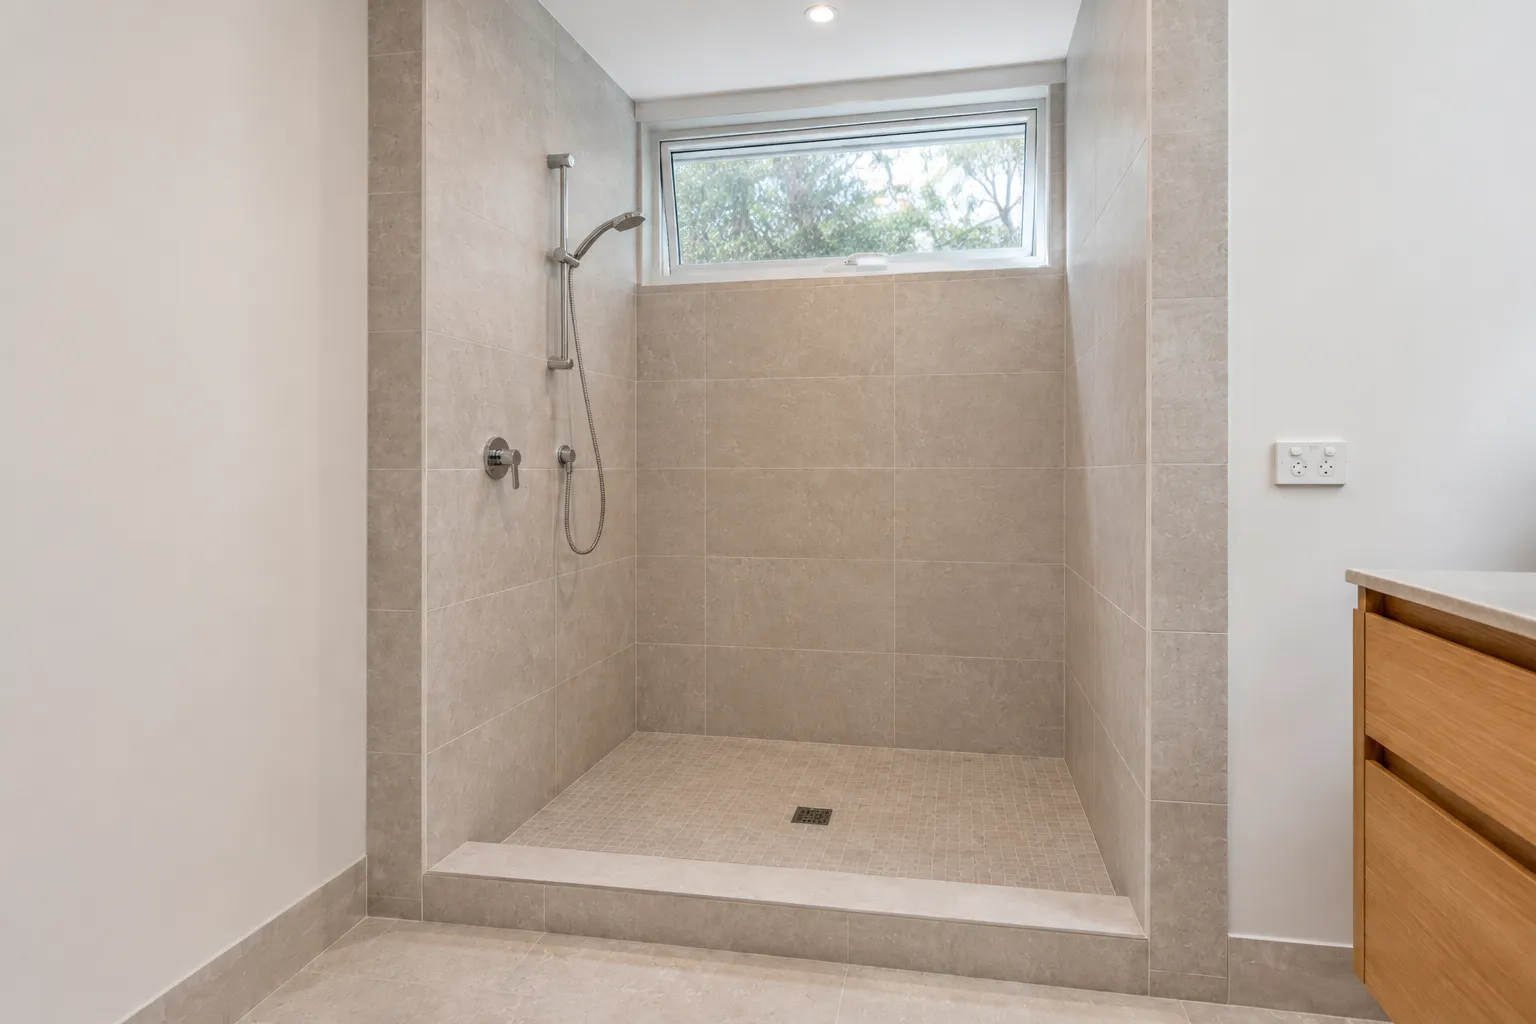
For most residential bathrooms, the usual sequence is:
This sequence allows the glass, channels, hinges and seals to be fitted to the actual finished surfaces rather than dimensions estimated from framing, wall sheeting or waterproofing.
Some bespoke designs require preparation before tiling. Recessed channels, wall reinforcement, slab set-downs and other concealed components may need to be incorporated during construction. However, this does not usually mean the glass itself should be measured or installed before tiling.
Custom shower screens depend on precise measurements. Even small differences in the finished opening can affect whether a panel fits, a door closes correctly or the screen contains water effectively.
Understanding what needs to be measured before ordering a frameless shower screen can help homeowners prepare for the final site measure, including checks of the opening, wall alignment, floor falls, door swing and nearby fixtures.
Wall tiles and adhesive reduce the width of a shower opening. Floor tiles, adhesive and screed also affect the final floor height.
The finished dimensions may differ from the original plans because of:
Estimating all these layers before installation creates unnecessary uncertainty. Measuring the completed surfaces gives the glazier the dimensions that will actually determine the fit of the glass.
Bathroom walls are not always perfectly straight, square or plumb. Tiling can correct some substrate irregularities, but it may also reveal bowing, tapering or changes in alignment.
A professional site measure normally checks the opening at several points rather than relying on a single width or height. These measurements help identify:
A custom screen can then be designed around the finished conditions. This is particularly important for frameless glass, where there is less framing available to conceal discrepancies.
Shower screen panels are commonly made from toughened safety glass. Once glass has been cut, drilled and toughened, it cannot be trimmed or drilled again on site.
If a panel is manufactured from premature measurements and does not fit, it may need to be replaced completely. Waiting until the tiles and grout are finished helps prevent remakes, added labour and delays to the bathroom handover.
The tiles provide the visible finish, but they are not the complete waterproofing system. Wet-area performance depends on the substrate, waterproofing membrane, junction detailing, floor falls, penetrations and surface finishes working together.
Australian bathroom work may need to comply with the applicable provisions of the National Construction Code, together with relevant standards such as AS 3740 for domestic wet-area waterproofing. The exact requirements depend on the building classification, approval pathway, jurisdiction and project design.
Waterproofing is normally applied to the prepared substrate before tiles are installed. It must be allowed to cure in accordance with the membrane manufacturer’s instructions before the tiler proceeds.
Renovators should also check the applicable NSW waterproofing licensing requirements before arranging residential waterproofing work.
The location and design of the shower screen can influence how the shower area is defined and how water is contained. For that reason, the proposed screen layout should be discussed before waterproofing and tiling begin, even though the final measure occurs later.
Early coordination can help determine:
These decisions should be coordinated by the builder, waterproofer, tiler and glazier where applicable.
Hinges, wall brackets and channels may require mechanical fixings through the finished tiled surface and into suitable structural support. Any penetration through the tiles or underlying waterproofing must be treated carefully.
It is not enough to assume that applying general-purpose silicone around a screw will automatically create a compliant penetration. The fixing and sealing method should be suitable for:
Fixing positions should prioritise structural support and waterproofing performance. Aligning hardware with grout joints may improve its appearance in some designs, but grout-line alignment should not override structural or waterproofing requirements.
Installing the screen after tiling allows the glazier to assess the actual surface texture and junctions. Gloss porcelain, natural stone, mosaics and textured tiles may require different preparation or compatible sealants.
The installer can also check:
This supports a neater finish and reduces the likelihood of gaps or interrupted sealant beads.
Understanding why frameless shower screens leak also highlights the importance of correct floor falls, panel alignment, seal gaps and shower outlet positioning.
Frameless shower screens rely on accurately cut glass and minimal hardware. They generally provide less adjustment than fully framed screens, making the final site measure especially important.
A frameless panel may need to follow an out-of-plumb wall or accommodate a floor that falls towards the drain. Hinged doors also require controlled clearances so they can move without contacting adjacent glass, tiles or fittings.
Measuring after tiling allows the installer to determine:
A fully framed screen may offer more adjustment through its channels and framing. However, it should still be selected and measured with reference to the completed opening.
Although the final glass measure should follow tiling, structural preparation cannot be left until the end of the renovation.
Heavy glass doors and fixed panels require suitable support. Depending on the design, this may involve timber blocking, noggins, masonry or another approved fixing substrate behind the wall lining.
The required support should be confirmed before the walls are sheeted. A glazier can advise where hinges, brackets or wall channels are likely to be positioned so the builder can provide appropriate reinforcement.
Certain architectural designs require early coordination. Examples include:
These components may need to be prepared before waterproofing or tiling. Nevertheless, the visible glass should ordinarily be measured after the tiled surfaces are complete unless the project has been specifically engineered and documented for a different sequence.
Ordering a shower screen before the finished surfaces are available can create practical, visual and waterproofing problems.
If the tiles and adhesive are thicker than expected, the completed opening may be narrower than the measurements used for manufacturing. A glass panel could then be too wide to install.
If the finishes are thinner than anticipated, the panel may be undersized and leave excessive gaps. These gaps can affect appearance, door alignment and water containment.
A hinged or pivot door requires suitable clearance from the floor, adjacent panels and nearby fixtures. Incorrect dimensions or out-of-plumb hinges can cause the door to:
Sliding screens can also be affected if the completed opening differs from the expected width or is not level.
Early measurements may be taken before the positions of mixers, shower heads, niches, towel rails or other fittings are confirmed.
A poorly coordinated screen can result in:
The final screen design should account for both the available space and the direction of water from the shower outlet.
When toughened glass does not fit, the available solutions are limited. Major dimensional errors can require:
Altering tiles after waterproofing and finishing can also introduce unnecessary risk. Accurate final measurements help avoid these outcomes.
The bathroom does not necessarily need every decorative item installed, but the surfaces and features that affect the shower screen must be complete or accurately confirmed.
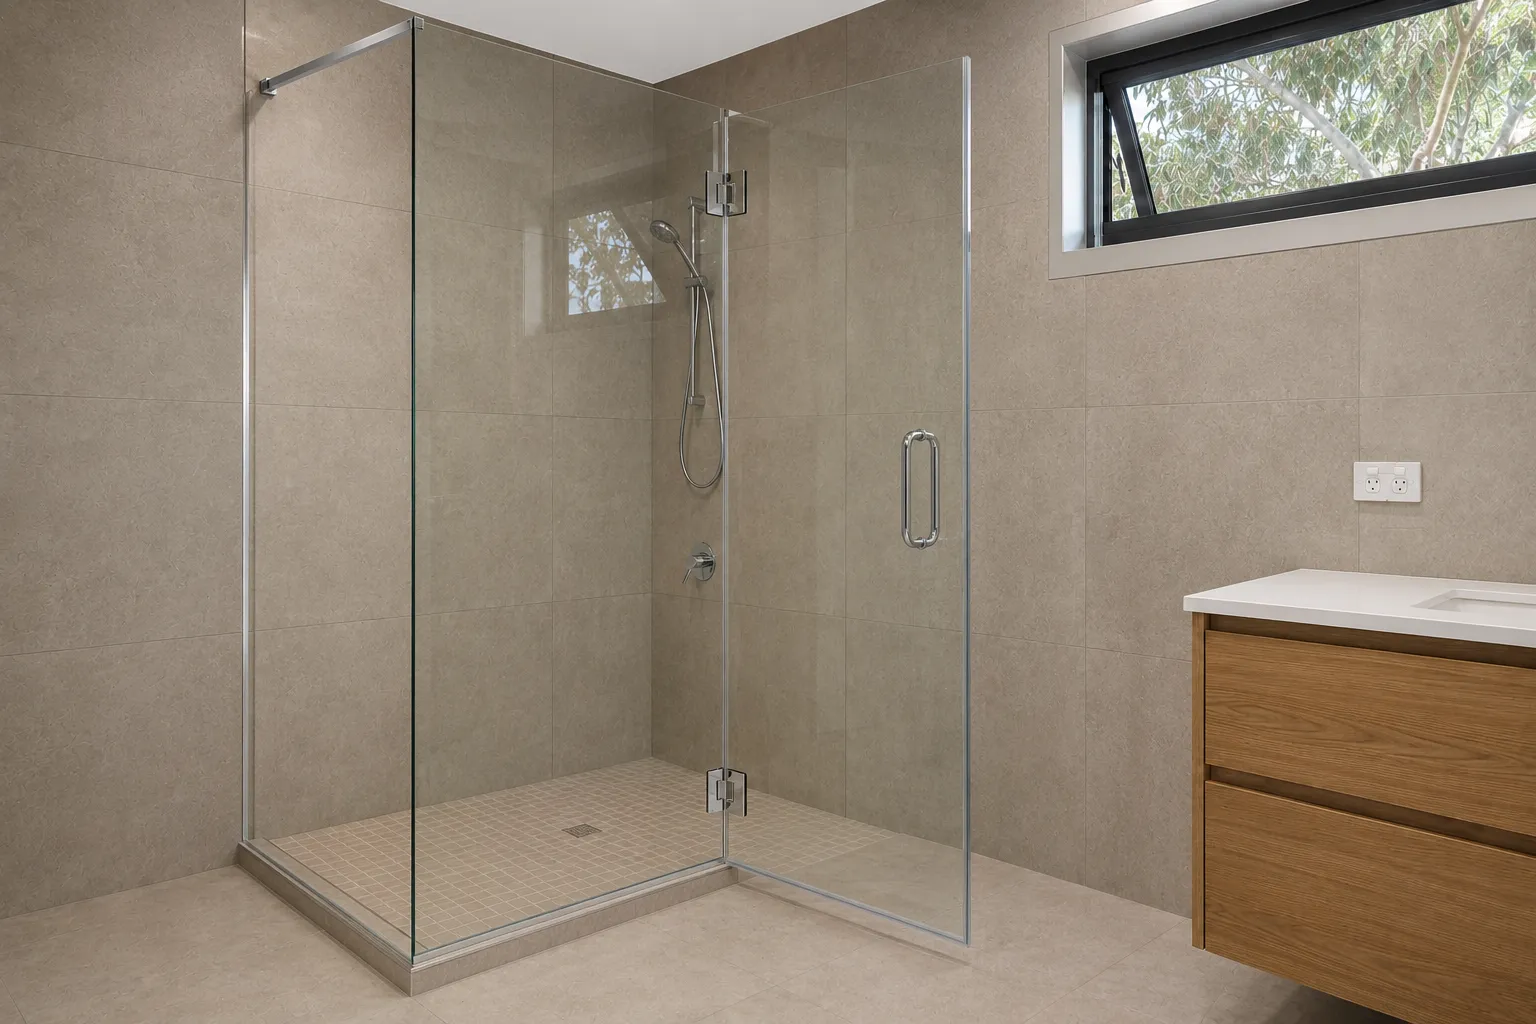
The preferred screen type should be selected during the planning stage. Options may include:
The available floor area, access requirements and nearby fixtures will influence which option is suitable.
A hinged door needs enough room to open without hitting the vanity, toilet, bath, entry door or towel rail. A sliding configuration may be more practical in a compact bathroom, while a fixed walk-in panel requires careful consideration of water spray and floor drainage.
The mixer, shower outlet, niches and other fixtures should be installed or their final positions confirmed before the screen design is approved.
The direction of the shower spray is particularly important. Even a correctly installed screen may not contain water effectively if the shower outlet is aimed directly towards an open entry or an insufficiently protected gap.
The following items should ordinarily be complete before the final measure:
The installer should be told about any concealed services, structural supports or waterproofing details that could influence drilling and fixing.
A screen should not be drilled into newly laid tiles before the adhesive and grout have cured sufficiently. Required curing periods vary between products and site conditions, so the relevant manufacturer’s instructions should be followed.
The installer may also specify how long the screen sealant must cure after installation before the shower can be used.
The glazier should be contacted during the planning stage, but the final measure should be scheduled for after the tiled opening is ready.
An early discussion allows the installer to review:
An initial quotation may be based on plans or preliminary dimensions. However, it should remain subject to a final site measure where custom glass is required.
The final measure should normally occur when:
The installer can then confirm the final glass sizes, door clearances, hardware positions and sealing requirements.
Custom manufacturing times vary according to the screen design, glass, hardware availability and supplier workload. Renovators should confirm the expected lead time instead of relying on a fixed number of working days.
Installation should be scheduled when the bathroom is clear of other trades and the finished surfaces have cured sufficiently. After installation, the screen sealant must also be allowed to cure for the period specified by the installer or product manufacturer before the shower is used.
Shower screens must use glazing that is suitable for their location and application. Relevant Australian requirements can include AS 1288 for the selection and installation of glass in buildings and AS/NZS 2208 for safety glazing materials.
The required glass type, thickness, panel size, support and hardware depend on the screen design. Frameless glass should not be selected based on appearance alone. Its weight, movement and fixing requirements must be considered as part of the complete system.
Homeowners should use a suitably experienced installer and avoid drilling, altering or attempting to resize shower screen glass themselves.
A well-planned shower screen installation depends on more than selecting the right glass and hardware. Structural support, waterproofing, drainage, door clearance and fixture positions should be considered early, while final measurements should generally wait until the tiling and grouting are complete. This sequence allows the screen to be manufactured for the finished opening and reduces the likelihood of fitting problems, damaged surfaces and avoidable rework.
Clear coordination between the builder, waterproofer, tiler and glazier is particularly important for frameless or bespoke designs. Clearview Glass Group can assess the proposed layout, identify preparation requirements and arrange the final site measure at the appropriate stage. With each part of the bathroom planned and completed in the correct order, the finished screen is more likely to fit neatly, operate safely and contain water effectively over the long term.
Ready to elevate your space with stunning glass solutions? Contact Clearview Glass today for expert advice, quality craftsmanship, and unmatched customer service. Let's bring your vision to life – get in touch now for a consultation.


